Hi Everyone!
It's time for another blog and since I've had lots of requests for information about creating custom signs I thought it would be a great blog to share with you.
Long ago I created custom signs, in fact that is how our business evolved from sign making to creating stencil designs. When I created my first sign I didn't realize Stencils even existed and thought everyone was free-hand painting the gorgeous designs I saw online.
Come to find out Stencil designs are a great tool and helped me create some amazing signs I never thought possible. I've created thousands of stencil designs for my business and for customers who wanted to create something for a special occasion or for their Home.
I feel fully confident in sharing our Stencil Tips with you for creating signs knowing all the ins and outs of sign making and have included them in several spots on our website. I also include Stencil Tips with every Stencil Order.... now back to creating your first sign.
SPECIAL NOTE: Ok, honestly it may take you a couple of attempts to really love what you've created. There is a learning curve. Patience is key. Don't give up. The first go at it may not be perfect. So experiment and start with some blanks, either using paper or something you can toss if you don't like the results. Our stencils are reusable and can take mutiple uses. The thing is, the more you try this the better you will get. It's all about the amount of paint you have on your brush and the pressure you apply while using your brush. Stenciling it isn't all that scary. Take your time and have FUN!
Now once your ready to give sign making a go you'll need a surface (board) or space (wall) which is the easiest because the space is in front of you and usually ready to go.
You can either use furniture you have and want to update it, apply a stencil to your wall or create a shape for a sign (board).
To create a sign board - you may want a special design for your board. Well here's a tip to create a pattern. Fold a peice of craft paper or a news paper in half and pencil a design onto the paper then cut it out. Unfold the paper and there you have a perfect design for your board! Once you have the shape you like you can transfer that design with a pencil onto your board or wall.
Use your favorite paint for the background to paint in that space on your wall or board. Let fully dry.
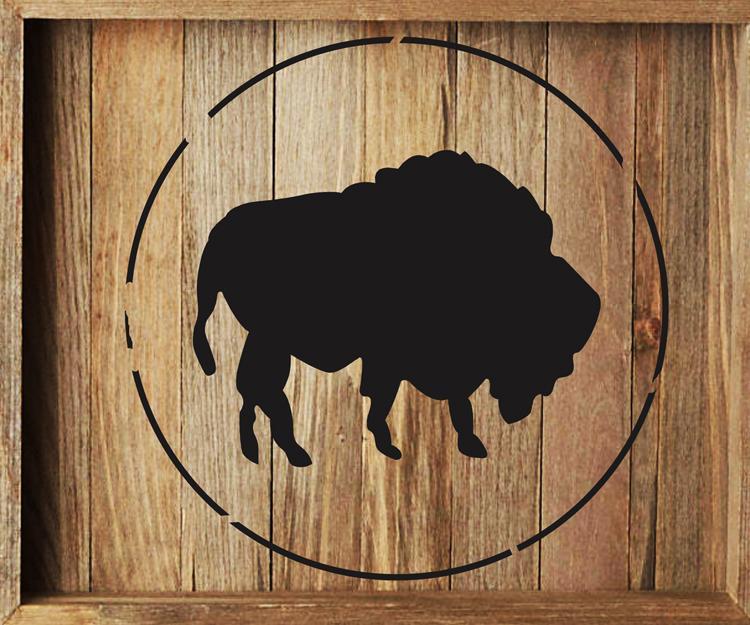
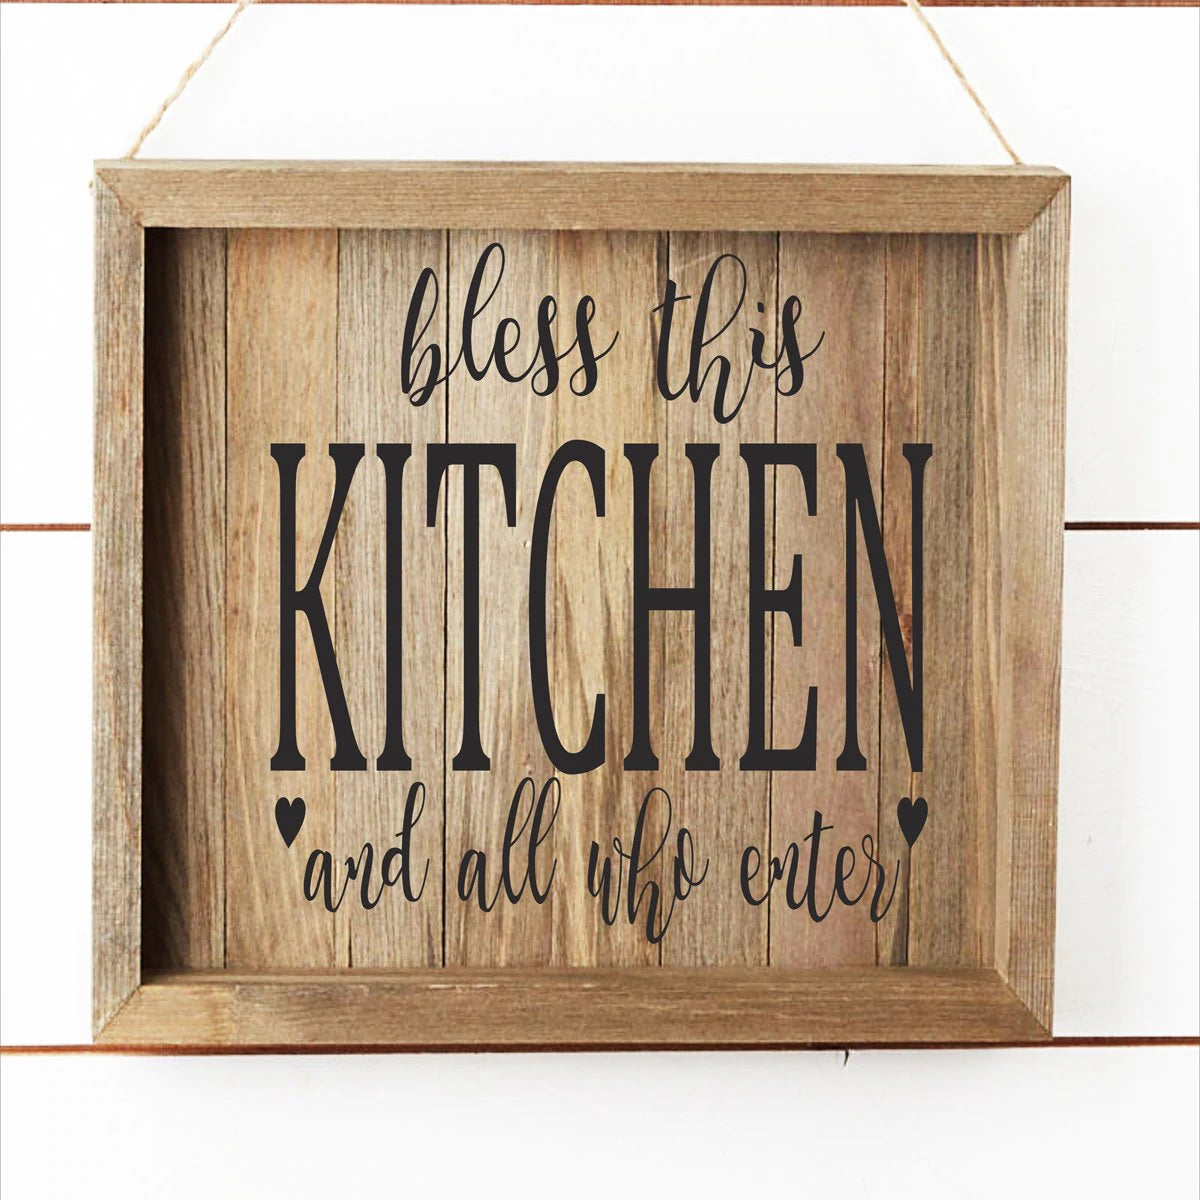
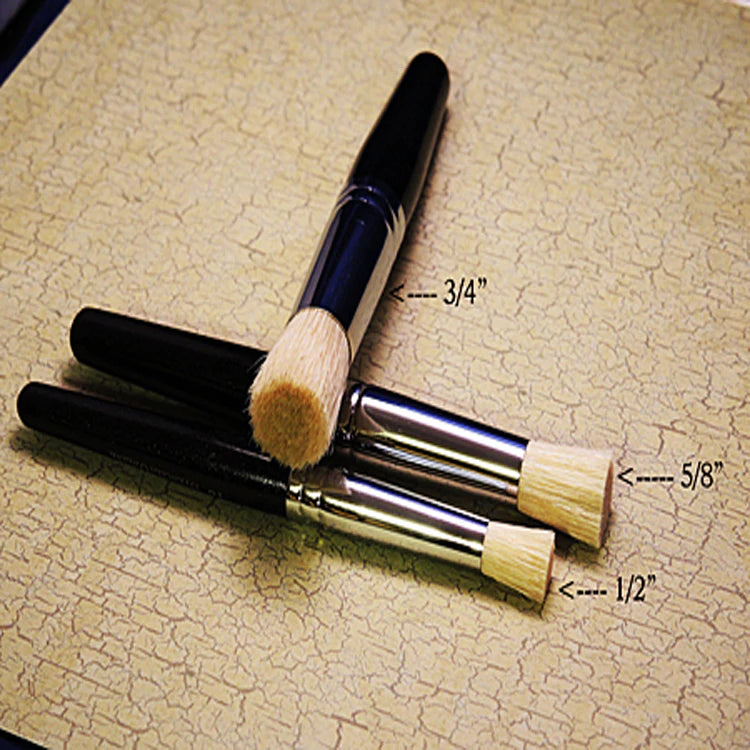
Next take your stencil design and lay over the top of your board or space. Take your contrasting paint color and good stencil brush and go over your stencil design lightly with your paint. If you want to, you can go over the design several times to get the desired coverage. LESS PAINT is best! Let that fully dry and lift off your the stencil off your wall or board.
I always seal my projects with Rustoleum spray sealer. They have both a Matte finish and Glossy finish. This protects your artwork in case you want to wipe your wall or board in the future and maintain your design. I prefer Matte finish. Let this fully dry before touching. If you'd like you can then add a varnish sealer for signs or furniture that would need extra protection from the elements.
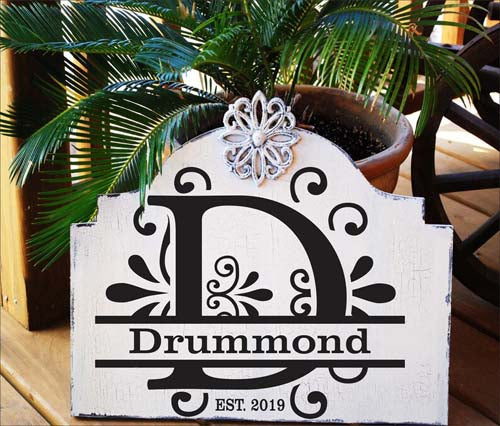
If you're creating a sign you'll need to apply a hanger. I've found tons of hangers out there. My favorite is the sawtooth nail hangers. You place it in the center of the back of your sign and hit it with your hammer firmly to have the teeth sink into your board securely.
You can also add other elements like in the photo which I found at Hobby Lobby. I do find little elements at garage sales, Flea Markets etc..
Once you successfully create your first sign you'll be hooked! I was all those years ago when I discovered patience is key.! Never give up and always
be Uniquely you!
Until we meet again Take Care & God Bless!
Cheryl
superiorstencils.com